Install TestCafe
Note
Use the TestCafe Setup Wizard to quickly bootstrap your TestCafe project. You can always adjust your setup afterwards.
Article Summary
The easiest way to install TestCafe is to use the node package manager. The following command creates a global installation of TestCafe, accessible anywhere on your machine:
npm i -g testcafe
Omit the -g flag to create a local installation. Use the --save-dev flag to add testcafe to the dependencies list.
Yarn users can install TestCafe with yarn. If you want to contribute to the development of the framework, you can build TestCafe from source.
Table of Contents
- Prerequisites
- Installation methods overview
- Install TestCafe from NPM
- Install TestCafe with Yarn
- Install TestCafe from source
- Ad Hoc installation
- Installation conflicts
- macOS permissions
Prerequisites
Node.js
The TestCafe framework requires an up-to-date version of the Node.js runtime. Execute the following shell command to confirm that you run a recent version of Node.js:
node --version
Install Node.js if necessary.
NPM
You need the npm command-line utility to install TestCafe from the NPM repository or run an ad hoc installation of TestCafe.
Most Node.js installers include the npm command-line utility out of the box. Make sure that your setup includes an up-to-date version of npm:
npm --version
Update npm if it is out of date:
npm install -g npm@latest
Install npm if it is absent:
curl -qL https://www.npmjs.com/install.sh | sh
Screenshot prerequisites
You may need to install extra software to take screenshots.
If you run Windows, install .NET 4.0 or newer.
If you run Linux, make sure that your environment contains an ICCCM/EWMH-compliant window manager.
macOS users can take screenshots out of the box.
Video prerequisites
TestCafe uses ffmpeg to record videos.
The easiest way to install ffmpeg is to run the @ffmpeg-installer/ffmpeg utility:
npm install --save @ffmpeg-installer/ffmpeg
Consult the official website for alternative installation instructions.
FFmpeg troubleshooting
Perform the following actions if TestCafe cannot detect the ffmpeg binary:
- Specify the path to the FFMpeg folder in the
PATHenvironment variable. - Specify the path to the FFmpeg executable in the
FFMPEG_PATHenvironment variable. - Reinstall the
ffmpegbinary with the @ffmpeg-installer/ffmpeg utility.
Installation methods overview
NPM
The easiest way to install TestCafe is to use the npm package management utility. NPM is the most popular package repository for the Node.js ecosystem. The TestCafe team uploads ready-to-use builds of the framework to this repository. You can use the npm command-line tool to install and manage Node.js packages, including TestCafe.
NPM can create a system-wide installation or add TestCafe as a project dependency.
If you’re unsure which option to pick, use system-wide installation. Global installation allows you to use a single version of TestCafe for all your projects.
A local installation is a great fit for continuous integration systems and Node.js applications. It allows you to install the entirety of your project dependencies, including TestCafe, with a single npm install command. You can use different local versions of TestCafe in different projects.
Yarn
Yarn is an alternative Node.js package manager. If you already use yarn, you can use it to install testcafe.
Source Code
If you want to test the development version of TestCafe, or contribute code to the project, install the framework from source.
Ad Hoc
If you cannot create a permanent installation of TestCafe, use the npx command to run TestCafe tests on the fly.
Install TestCafe from npm
System-wide installation
Run the following command to install the testcafe package system-wide:
npm install -g testcafe
Local Installation
Run the following command to install TestCafe into your current working directory and save it to the dependencies list.
npm install --save-dev testcafe
Install TestCafe with yarn
- If your setup does not contain
yarn, follow the official installation guide. Navigate to a directory with an initialized yarn project, or initialize a new project:
yarn initAdd
testcafeto your project dependencies:yarn add -D testcafe
Install TestCafe from source
The installation process consists of two steps:
Build TestCafe
Note
The TestCafe team stores the framework’s source code in a public git repository. Install and configure git to work with the TestCafe repository.
Clone the TestCafe repository:
git clone git@github.com:DevExpress/testcafe.gitNavigate to the root directory of the repository. Install project dependencies with the following shell command:
npm installBuild the project with the following shell command:
npx gulp build
Install the build
Install the build in one of the following two ways:
npm link
The npm link method suits most testers and contributors. It allows you to use TestCafe while you make changes to the framework’s code.
The npm link command creates a symbolic link between the TestCafe directory and your project.
Navigate to the root directory of the repository and run the following shell command:
npm linkNavigate to the directory that contains your test files and run the following shell command:
npm link testcafe
npm pack
Run the following shell command to package the framework:
npm packThis command creates a
name-version.tgzpackage in thetestcafefolder.Run the following shell command to install the package system-wide. Replace the
path/to/package.tgzsection with the actual path to the package.npm install -g path/to/package.tgz
Note
The /lib directory stores build artifacts. Build tasks remove this folder before they run. To remove this directory manually, run the following command:
gulp clean
Ad Hoc Installation
Ad hoc installation tools allow you to run rarely used packages without adding them to your project dependencies. Most TestCafe users should only resort to this measure if no other installation method is feasible.
Use the npx utility to run TestCafe without a permanent installation.
npx testcafe chrome test.js
The npx command creates a temporary installation of TestCafe and all its dependencies. When you end the testcafe process, the installation disappears. The next time you run npx, it downloads and installs the TestCafe package all over again.
Installation priority and conflicts
If you installed the testcafe package globally, but your current working directory contains a local TestCafe installation, the testcafe command launches the local version of the framework.
If in doubt, double-check the version of the framework and the installation type with the following command:
testcafe -v

macOS Permissions
Main article: Grant or Fix TestCafe Permissions on macOS
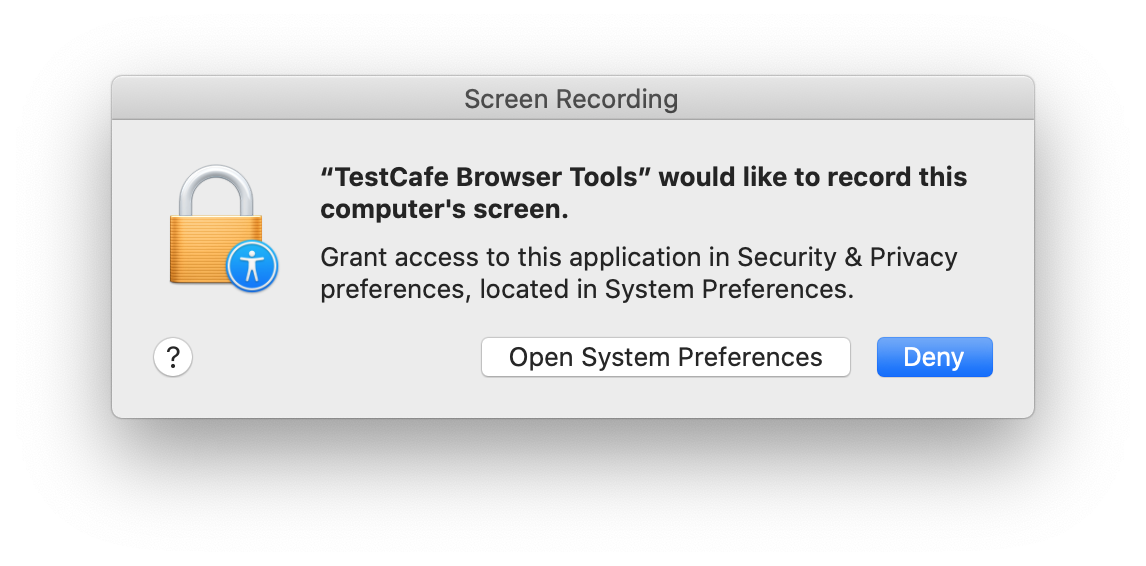
In macOS v10.15 and up, the operating system imposes new restrictions on applications that automate browsers and perform screen capture. For TestCafe to work, you need to explicitly grant permissions to the framework.
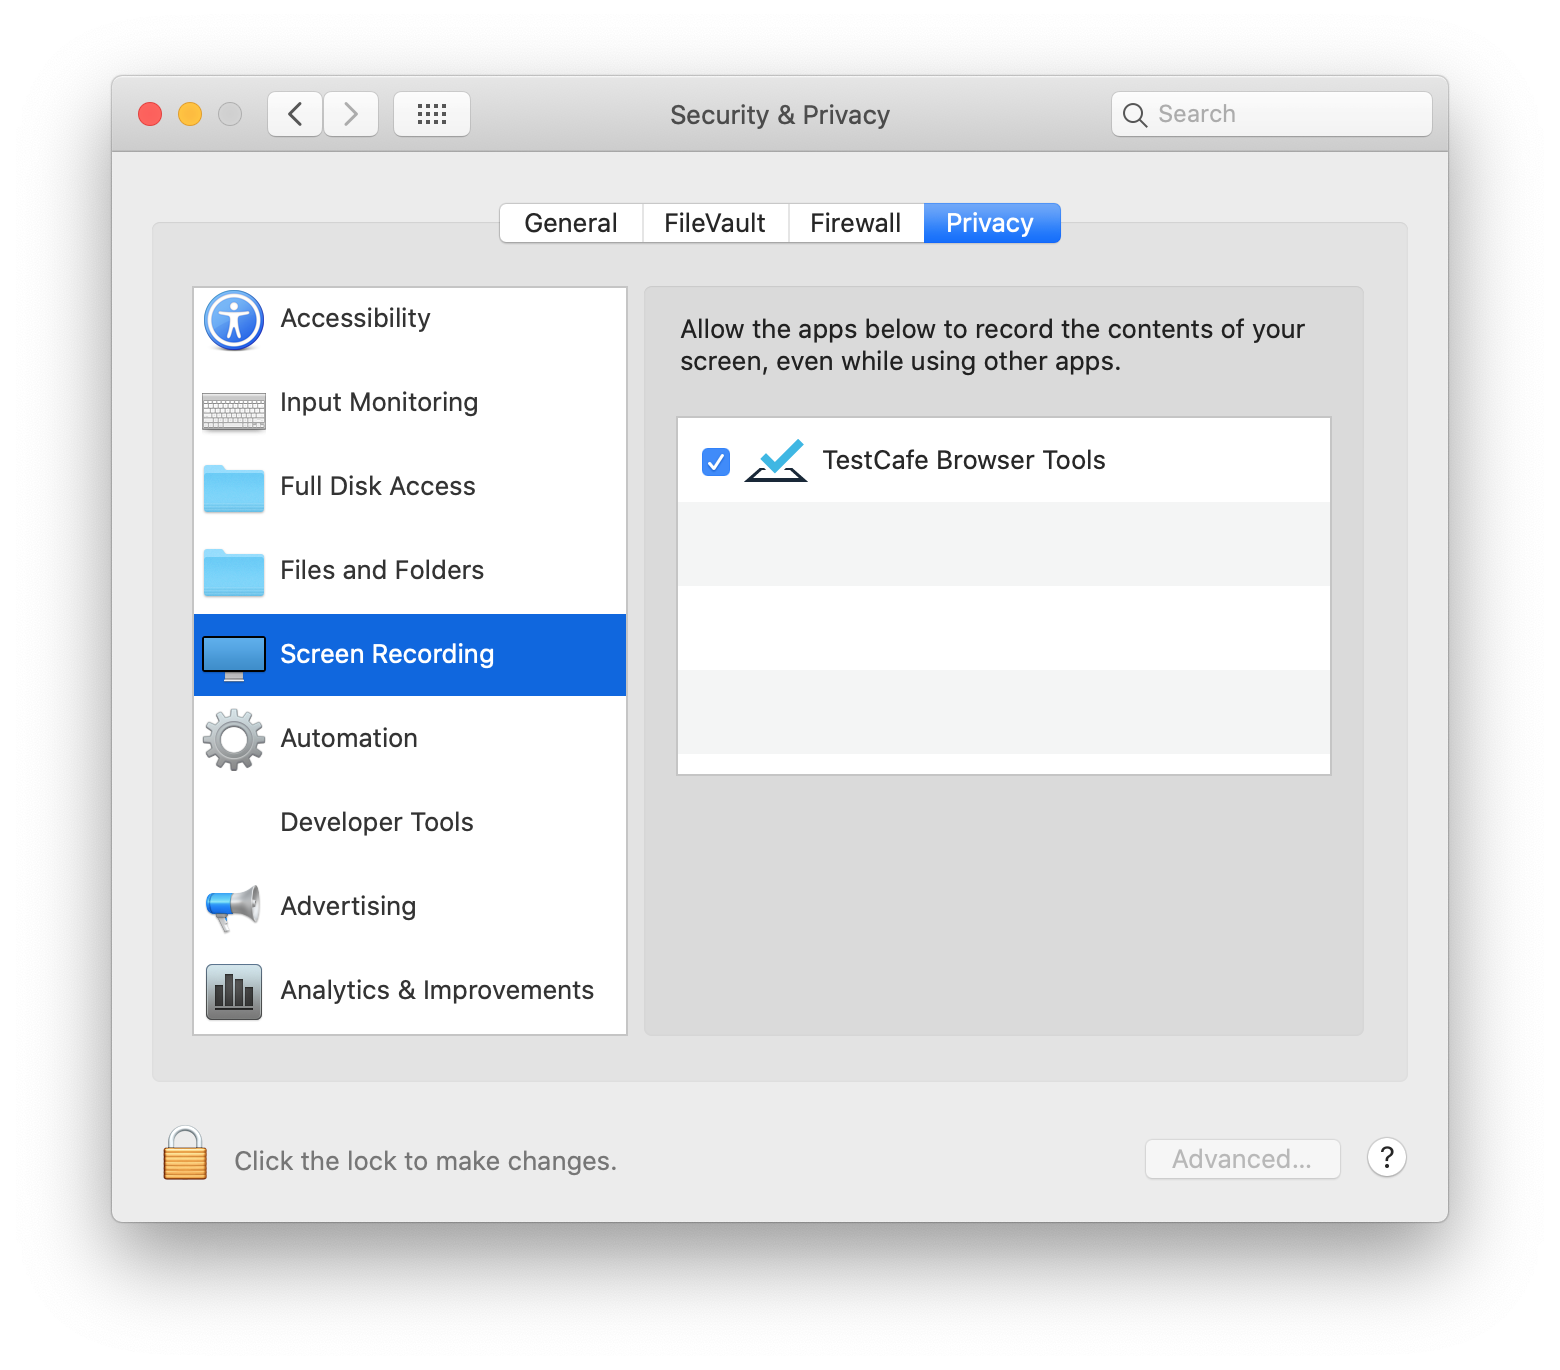
When you launch TestCafe for the first time, macOS asks you to grant TestCafe Browser Tools screen recording permission. Click the Open System Preferences button and check the TestCafe Browser Tools box to grant this permission.
When you update TestCafe, macOS may reset its security permissions. If that happens, the system repeats the permission prompt the next time you launch TestCafe.
When the Security and Privacy dialog opens, uncheck the TestCafe Browser Tools check box and check it again.