Run Tests on LambdaTest with CircleCI
This topic describes how to integrate TestCafe into the CircleCI build process and run tests in the TestMu AI (formerly LambdaTest) cloud testing service.
Prerequisites
In this tutorial, we fetch tests from a GitHub repository: testcafe-ci-demo. Fork this repository before you start.
Note
If you use a different version control system, make sure CircleCI supports it. For information on which systems you can use, refer to the CircleCI Integrations page.
Step 1 - Install TestCafe and Create Tests
Install TestCafe locally in your project and create tests.
Step 2 - Create a New CircleCI Project
Log in to CircleCI using your GitHub account.
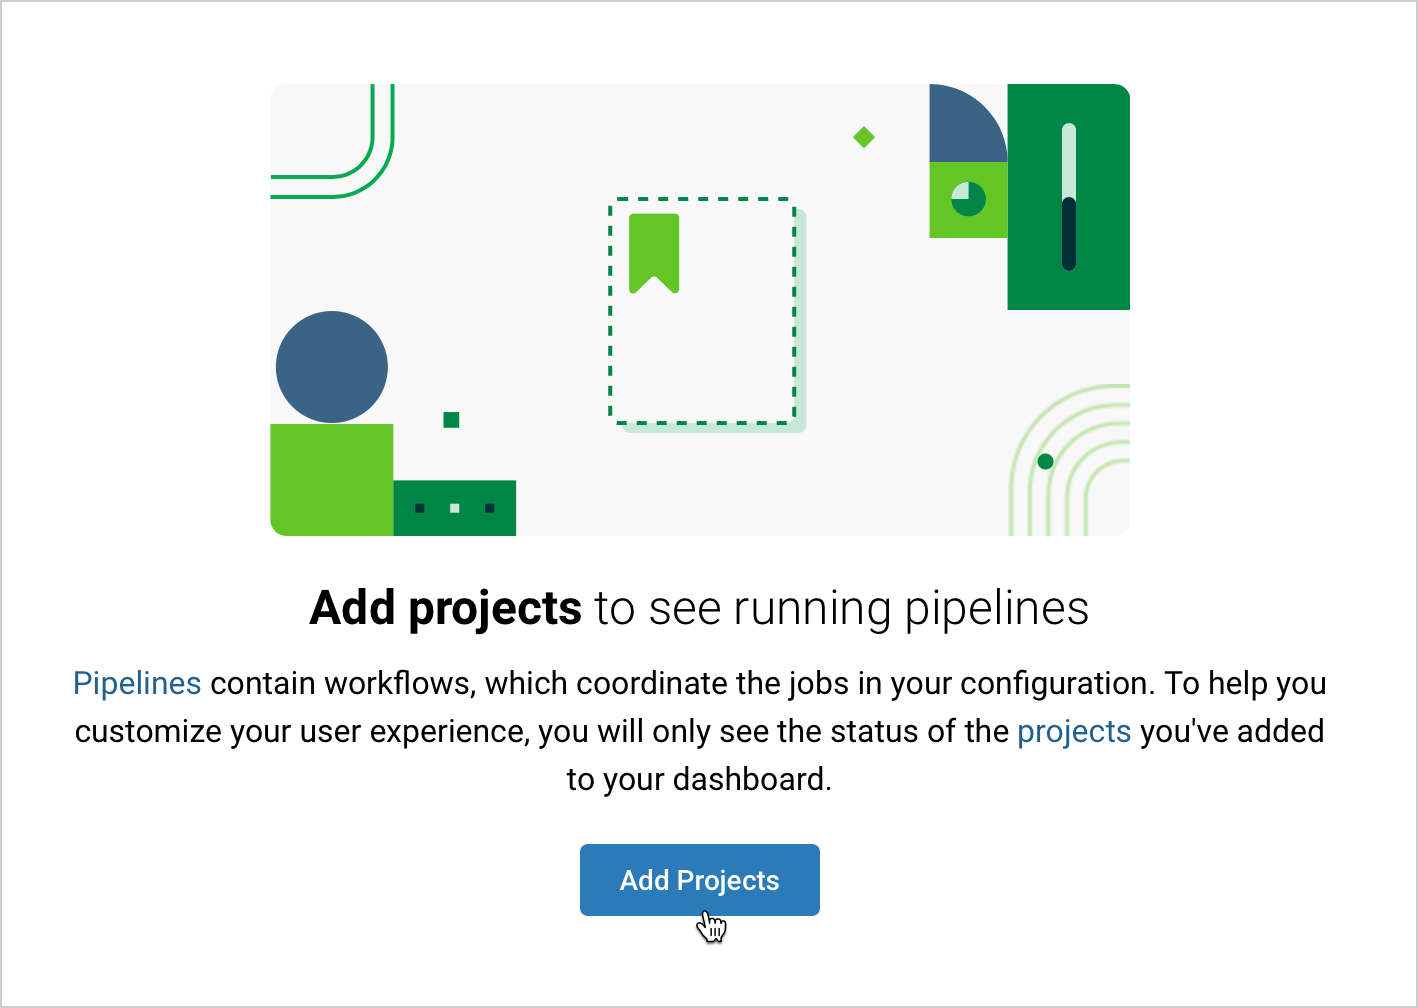
If this is the first time you use CircleCI, you will start from an empty workspace. Click the Add Project button to create your first project.
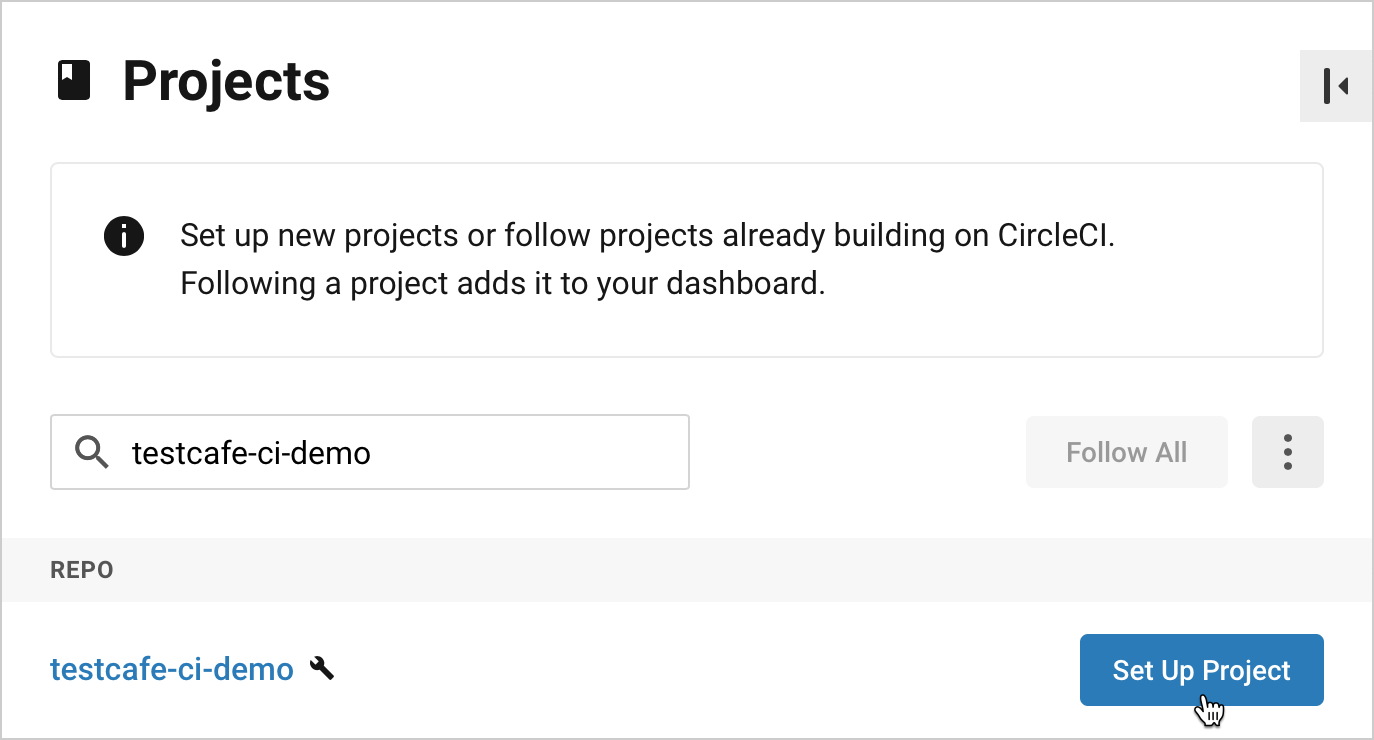
This shows a list of GitHub projects associated with your account. Find testcafe-ci-demo and click Set Up project.
Step 3 - Configure the Build
On the project configuration page, open a drop-down list and select Node as the target platform. Paste the following configuration:
version: 2.1
orbs:
  node: circleci/node@4.1.0
jobs:
  test:
    executor:
      name: node/default
      tag: lts
    steps:
      - checkout
      - node/install-packages
      - run:
          command: npm run test
      - store_test_results:
          path: /tmp/test-results
workflows:
  e2e-test:
    jobs:
      - test
The following table describes the YAML properties used in this example:
| Property | Description |
|---|---|
version |
The CircleCI version that should be used for this project. |
orbs |
Imports CircleCI orbs – reusable parts of build configurations stored in a CircleCI registry. |
node |
Imports the circleci/node orb v4.1.0 under the name node. |
jobs |
The section that specifies jobs. |
test |
The job’s name. |
executor |
An executor that defines the environment in which this job runs. This example uses the default executor from the node orb. The tag property specifies that the LTS version of Node.js should be used. |
steps |
The job’s steps. |
checkout |
Checks out code from the testcafe-ci-demo repository. This is a pre-defined step (see checkout). |
node/install-packages |
A step from the node orb that installs the project’s dependencies (see install-packages). |
run |
The run step invokes shell commands. In this example, run executes the npm test script. |
store_test_results |
Uploads test results to the specified directory (see store_test_results). |
workflows |
A workflow that runs the test job. |
After you pasted the YAML, click Add Config.
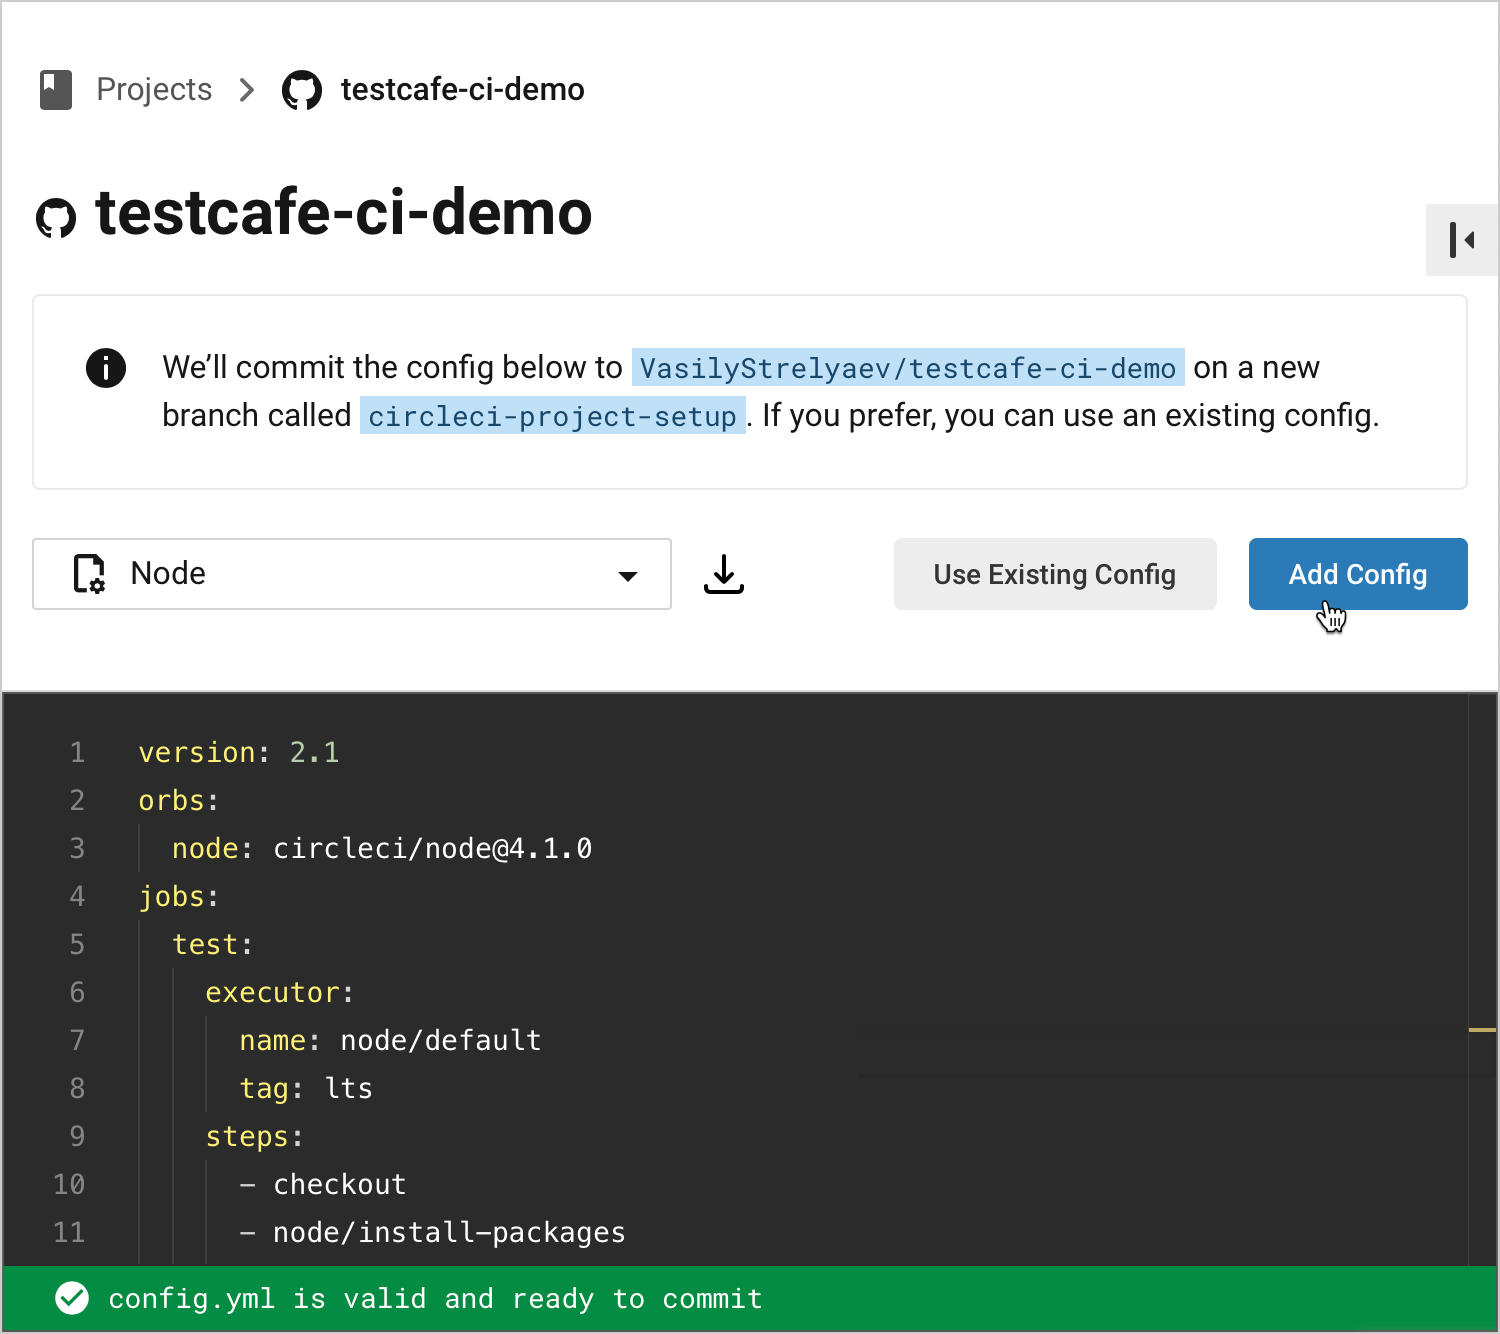
CircleCI creates the circleci-project-setup branch in the repo and commits the .circleci/config.yml file to this branch. In this tutorial, we commit and push further changes to circleci-project-setup.
Step 4 - Specify LambdaTest Credentials
CircleCI allows you to assign sensitive information, like user credentials or access keys, to the CI project so that you do not keep secret values in the repository.
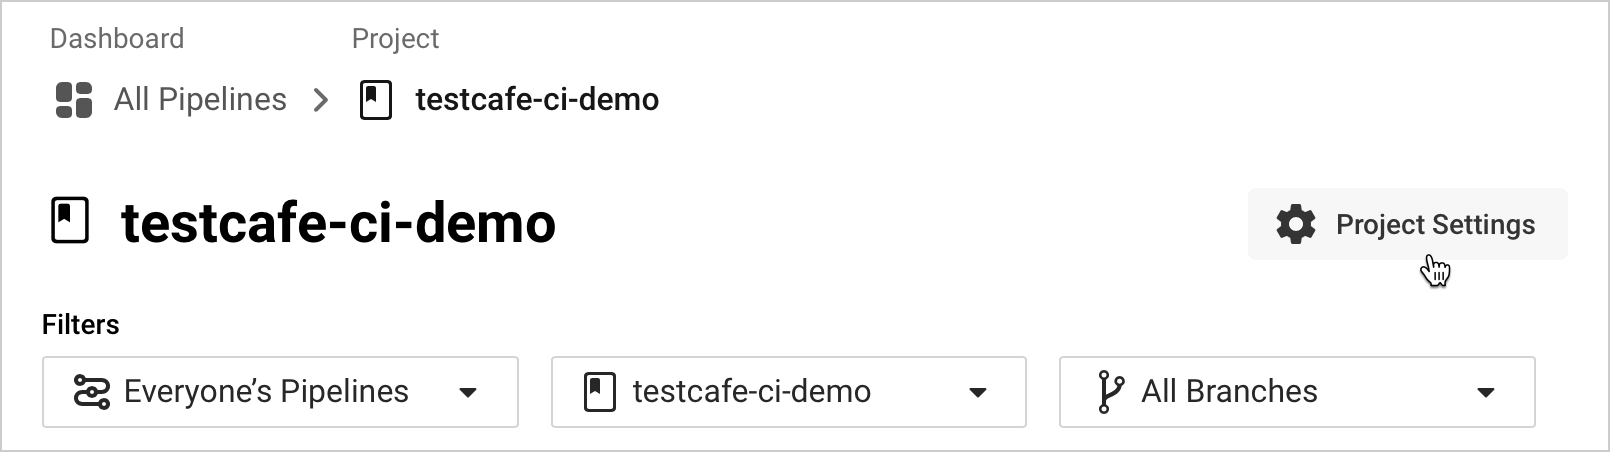
Open the Dashboard view and select the testcafe-ci-demo project from the drop-down list:

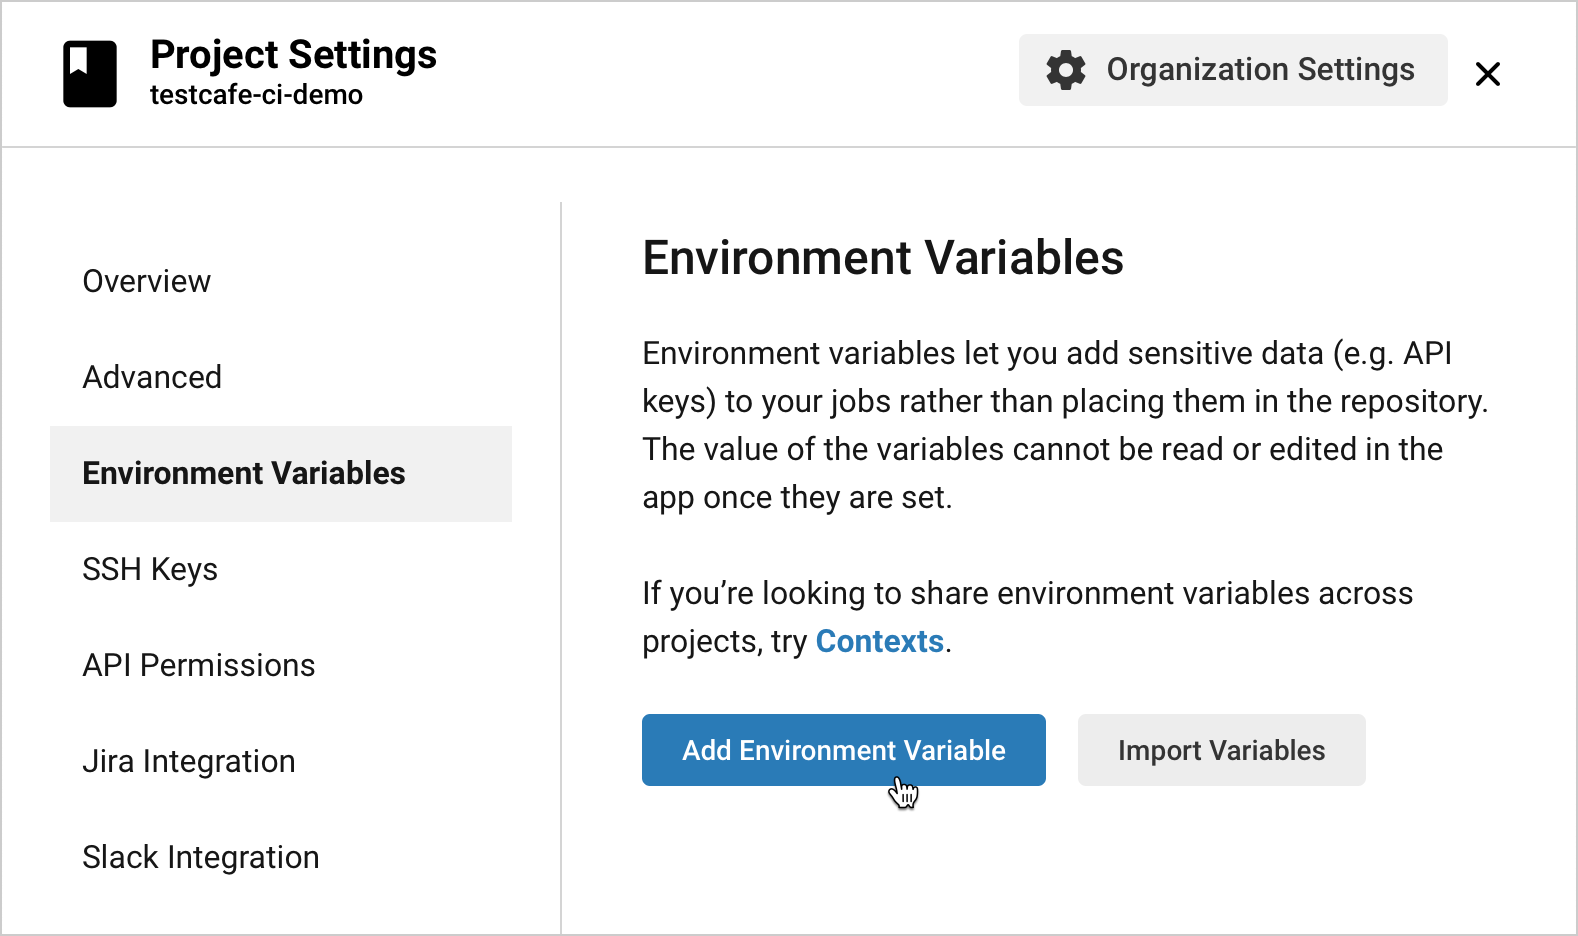
Click Project Settings:
Open the Environment Variables category and click Add Environment Variable:
In a separate browser tab or window, open the LambdaTest app and click Automation in the navigation bar:
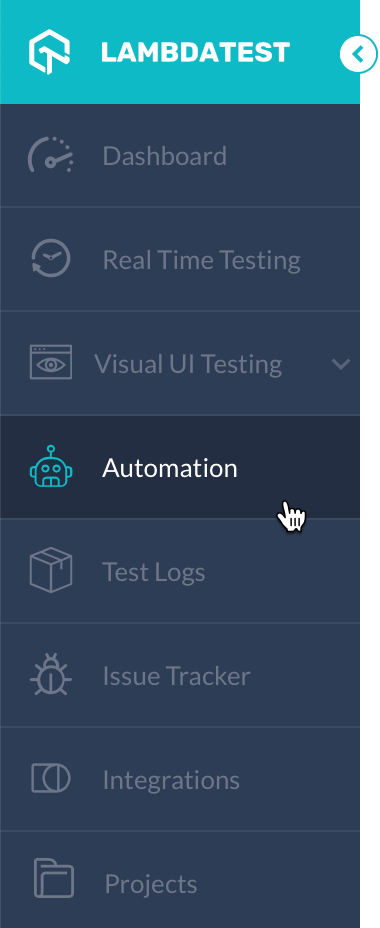
Click the  to display the access key info. Copy the username:

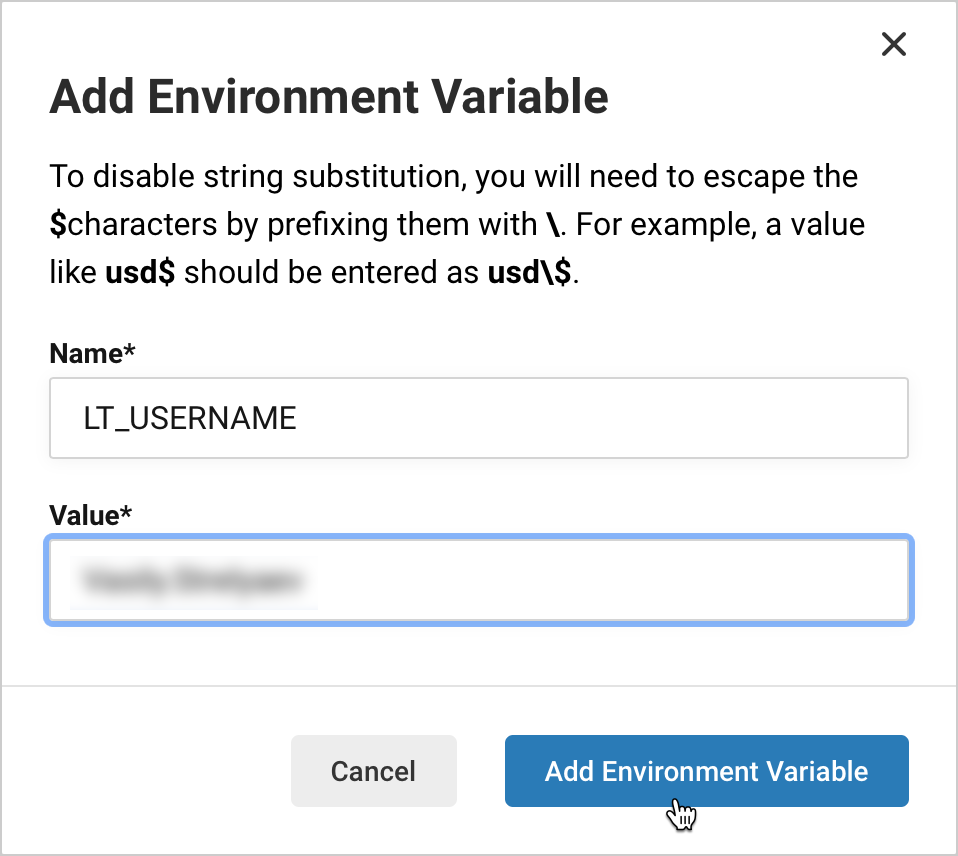
In CircleCI, enter LT_USERNAME as the variable name, paste the copied value below, and click Add Environment Variable:
In the same manner, copy the access key from LambdaTest and create the LT_ACCESS_KEY environment variable in CircleCI to store this key.
Step 5 - Install the LambdaTest Browser Provider and JUnit XML Reporter
Install the following npm packages locally in your project directory:
- testcafe-browser-provider-lambdatest – the LambdaTest browser provider that enables TestCafe to run tests in the LambdaTest cloud,
- testcafe-reporter-xunit – the JUnit XML reporter that generates test run reports in XML format. CircleCI can process XML reports and display test results in the UI.
Run the following command to install both packages:
npm install --save-dev testcafe-browser-provider-lambdatest testcafe-reporter-xunit
Commit the package.json and package-lock.json files updated by npm to the circleci-project-setup branch and push the changes. These files allow CircleCI to use a fast npm ci command to install the dependencies.
Step 6 - Add the test script to package.json
To specify how CircleCI should launch TestCafe, add the test script to the package.json file. Use the testcafe command in the script to run tests on LambdaTest.
"scripts": {
  "test": "testcafe \"lambdatest:Chrome@85.0:Windows 10\" tests/**/* -r xunit:/tmp/test-results/res.xml"
}
After you install the dependencies and specify the test script, package.json should look as follows:
{
  "scripts": {
    "test": "testcafe \"lambdatest:Chrome@85.0:Windows 10\" tests/**/* -r xunit:/tmp/test-results/res.xml"
  },
  "devDependencies": {
    "testcafe": "*",
    "testcafe-reporter-xunit": "*",
    "testcafe-browser-provider-lambdatest": "*"
  }
}
Commit it to the circleci-project-setup branch and push the changes.
For more information on how to configure a test run with the testcafe command, see Command Line Interface.
Step 7 - View Test Results
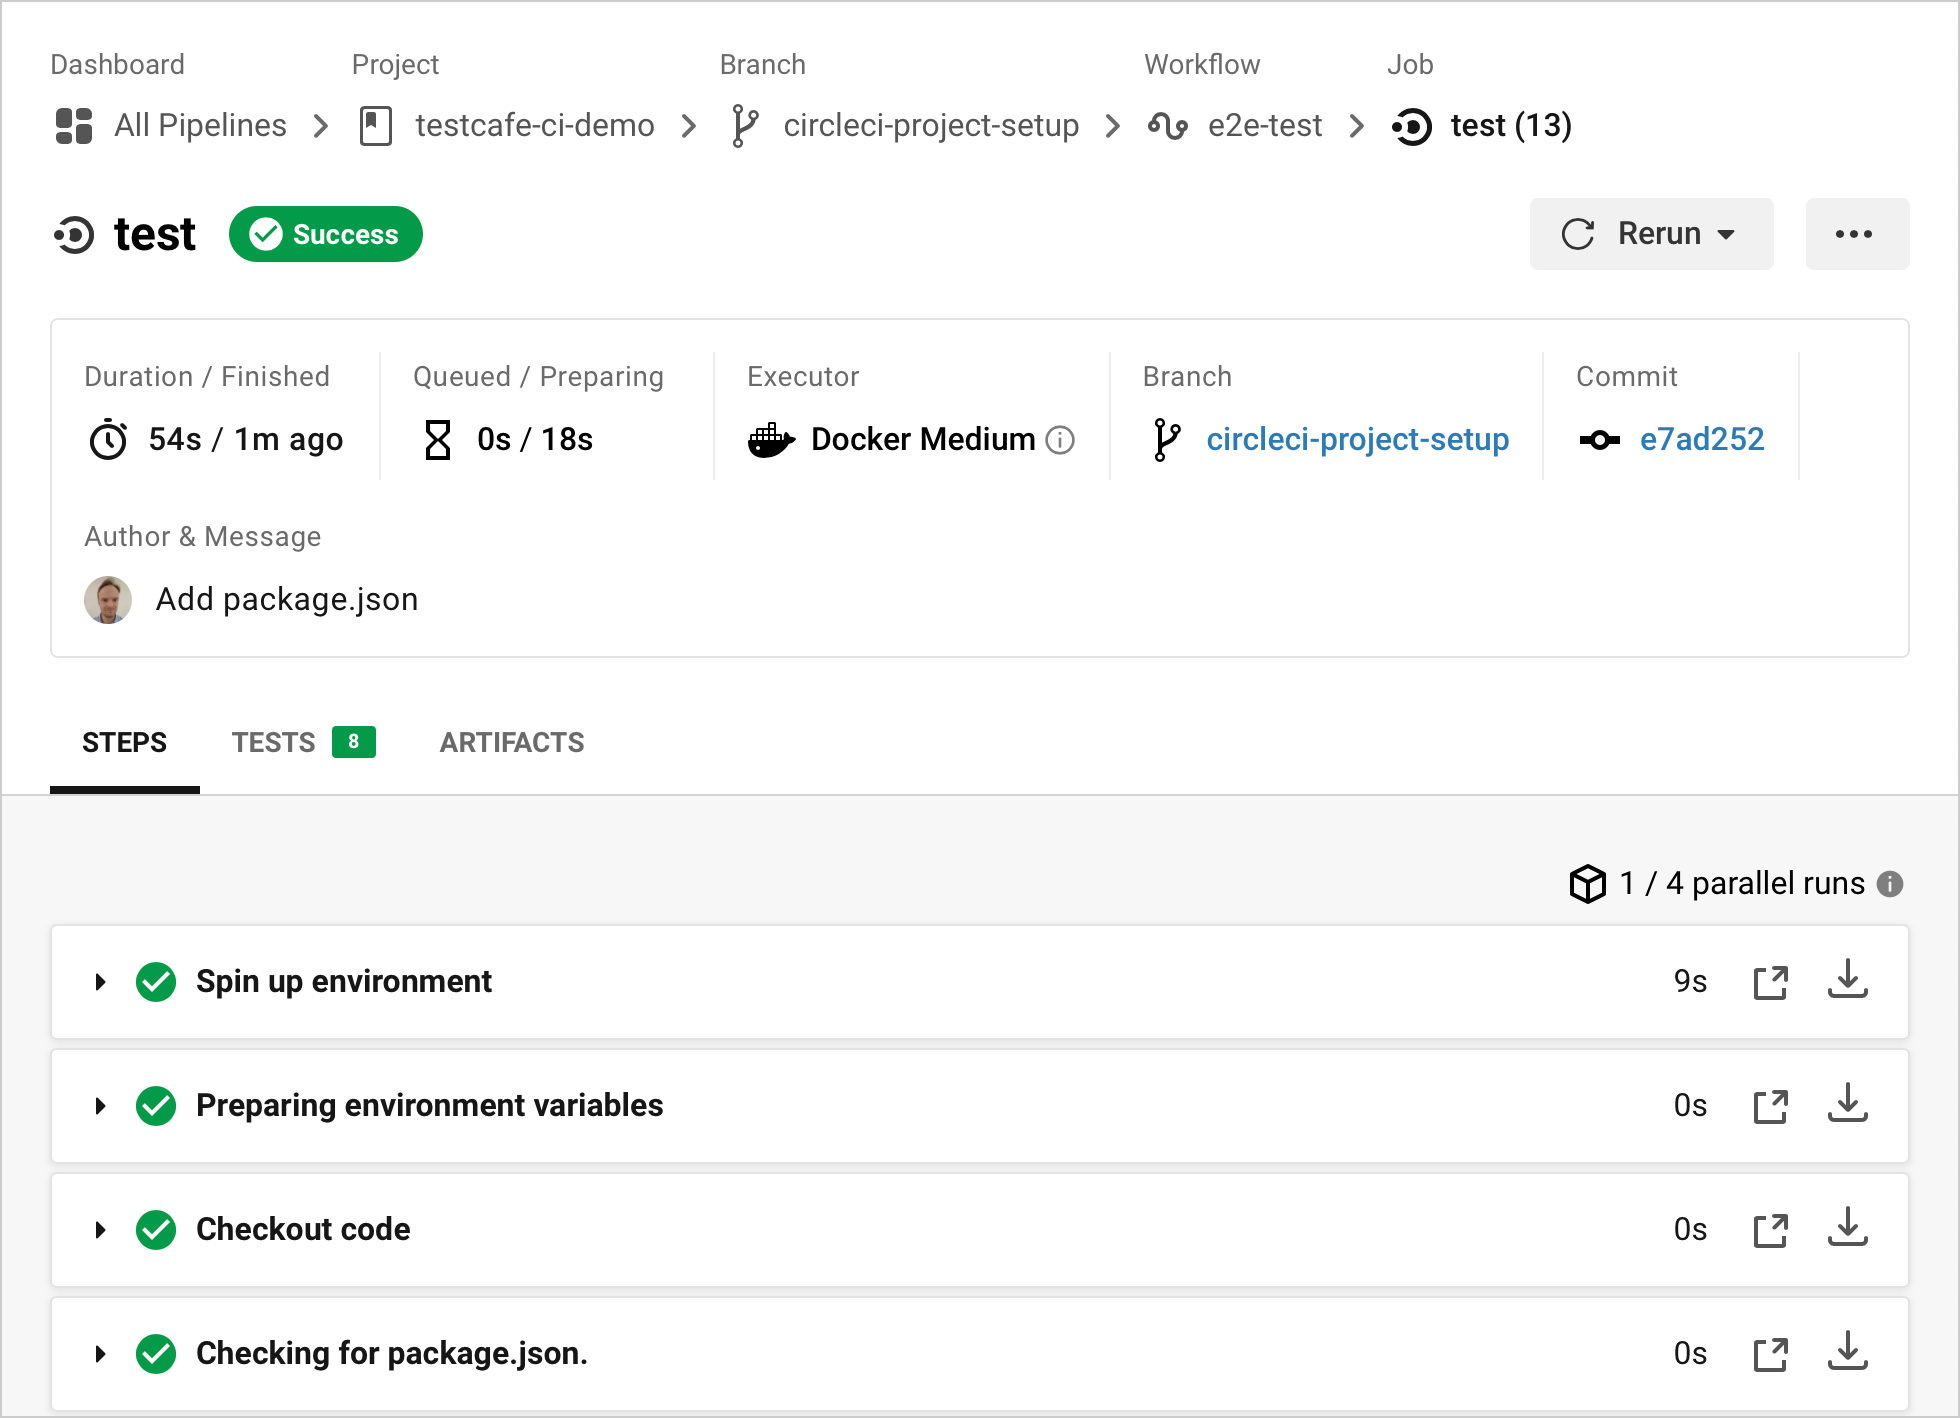
Once you commit the package.json changes in the previous step, the build is triggered against circleci-project-setup. The CircleCI Dashboard shows the results in the pipeline.
Click the job name to show the details.

The job view displays information about the completed job including the run duration, latest commit, and build log:
Next Steps
A testing configuration for CircleCI and LambdaTest is set up in the circleci-project-setup branch. You can now create a pull request to merge the configuration into the master branch.
Note
Please do not open pull requests to merge the sample code from this tutorial to the DevExpress-Examples/testcafe-ci-demo repository.