Integrate TestCafe with AppVeyor
This topic describes how to integrate TestCafe tests into an AppVeyor project’s build process.
Prerequisites
In this tutorial, we will fetch tests from a GitHub repository: testcafe-ci-demo. Fork this repository before we start.
Note
If you use a different version control system, make sure that AppVeyor supports your platform. The list of supported platforms is available after you click the NEW PROJECT button.
Step 1 - Create an AppVeyor Project
If you are using AppVeyor for the first time, you will begin with an empty account without any projects.
To create a project, click NEW PROJECT.

AppVeyor will ask you to specify a repository to create a project for. In this tutorial, we will use a GitHub repository, so click GitHub and authorize.
You will see a list of repositories associated with your account. Find testcafe-ci-demo and click ADD.

A new AppVeyor project is created.
Step 2 - Specify the Commands to Run Tests
On the new project’s page, open the SETTINGS menu.

If you are starting from a fresh project that has nothing to build yet, go to the Build settings category and disable building by pushing OFF.

Click Save.
Now configure AppVeyor to install TestCafe before running tests.
To this end, go to the Environment settings category and find the Install script section. Select PowerShell (PS) and enter a command that installs TestCafe.
npm install -g testcafe testcafe-reporter-xunit
This command installs the main testcafe module and a plugin used to output reports in the xUnit format.

Click Save.
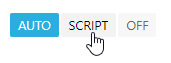
Next, specify how tests should be triggered. Go to the Tests category and choose to use a custom script to run tests.
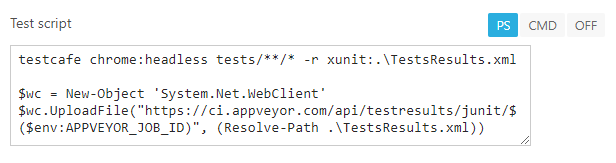
Select PS as a shell type and enter the following code.
testcafe chrome:headless tests/**/* -r xunit:.\TestsResults.xml

$wc = New-Object 'System.Net.WebClient'
$wc.UploadFile("https://ci.appveyor.com/api/testresults/junit/$($env:APPVEYOR_JOB_ID)", (Resolve-Path .\TestsResults.xml))
The first command starts tests from the tests directory in the headless Chrome and saves the result to the TestsResults.xml file in xUnit.
The next two lines upload test run reports to AppVeyor so that you could view them in the UI.
Click Save.
Step 3 - Trigger the Build
Return to the project page and click NEW BUILD to trigger the AppVeyor build.

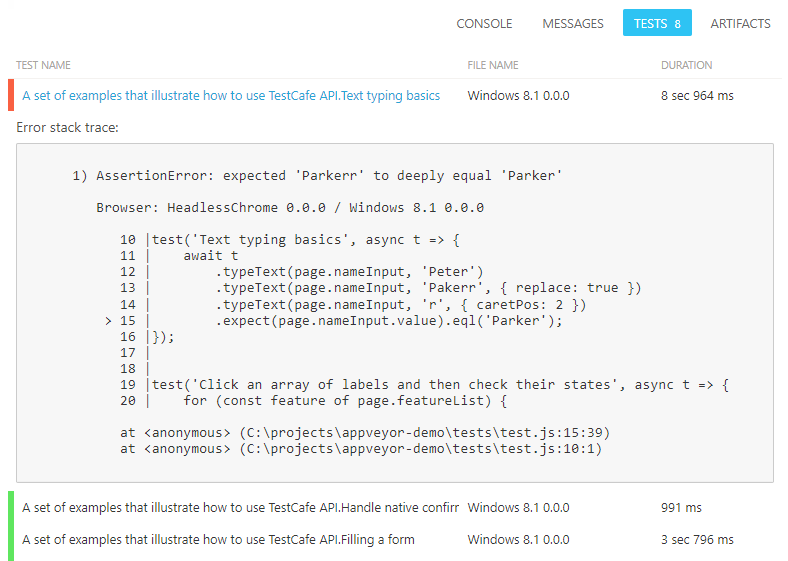
Step 4 - View Test Results
When testing is done, you can go back to LATEST BUILD and click the TESTS button to view the results.